
Self-levelling concrete floor: A complete guide to the application process, benefits and finishes
A self-levelling screed floor consists of a special synthetic primer, polymer concrete / self-levelling screed and a finishing layer. During screed casting, images can be embedded (such as paintings or company logos), various elements can be incorporated (such as stones and glass strips), or an aged/antique finish can be achieved.
Rapid levelling methods:
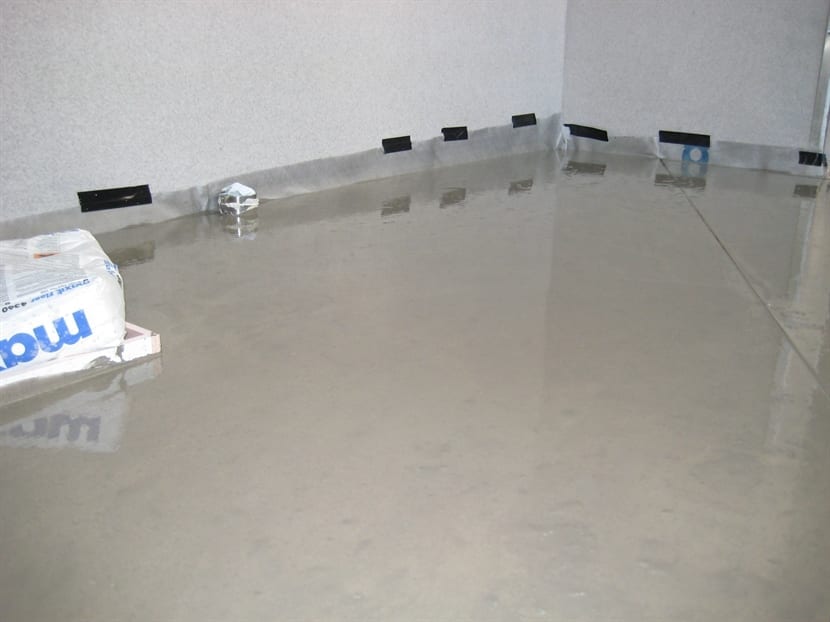
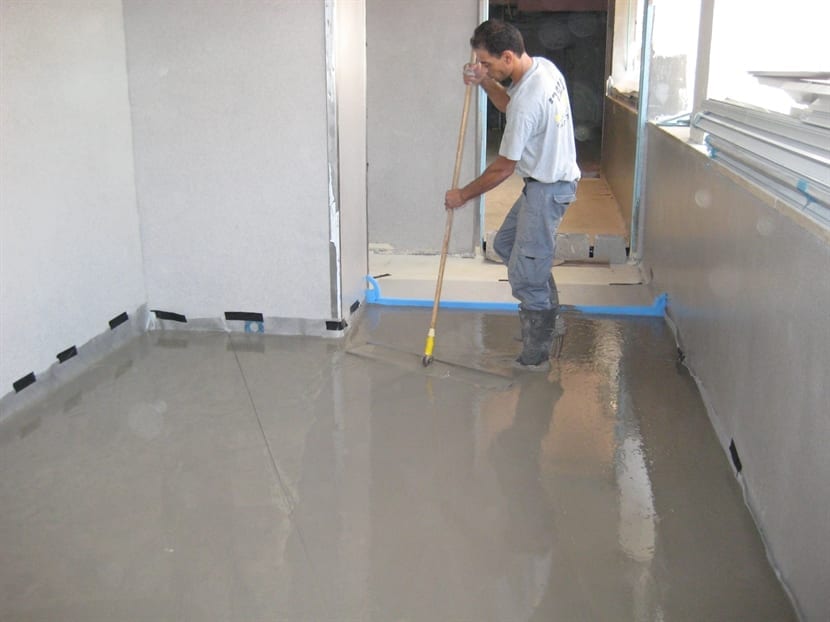
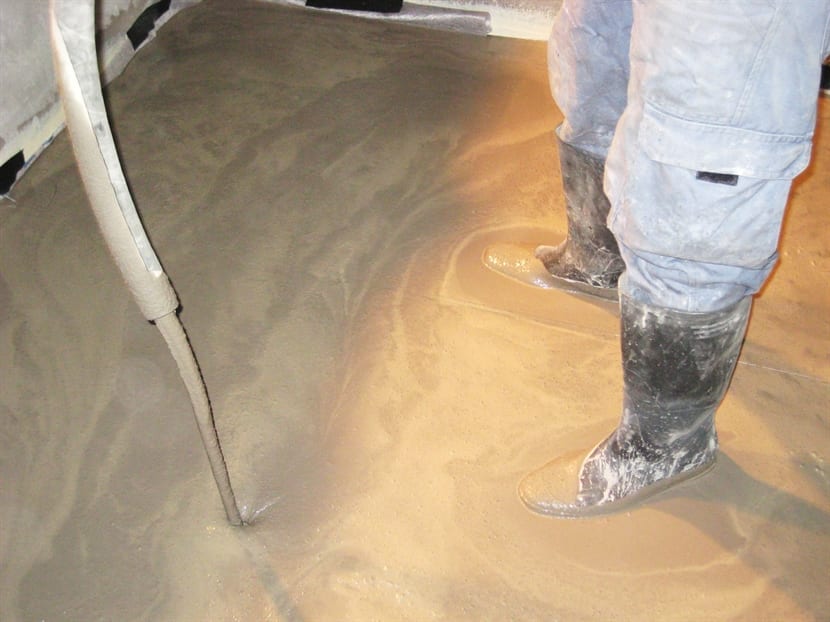
In the past, industrial floors were applied using a trowel/scraper or flat mops. Today, a dedicated pump can be used to pour levelling materials, allowing for much more efficient, uniform, and faster work. With this method, 1,500 m² of surface area can be levelled in one working day.
Application:
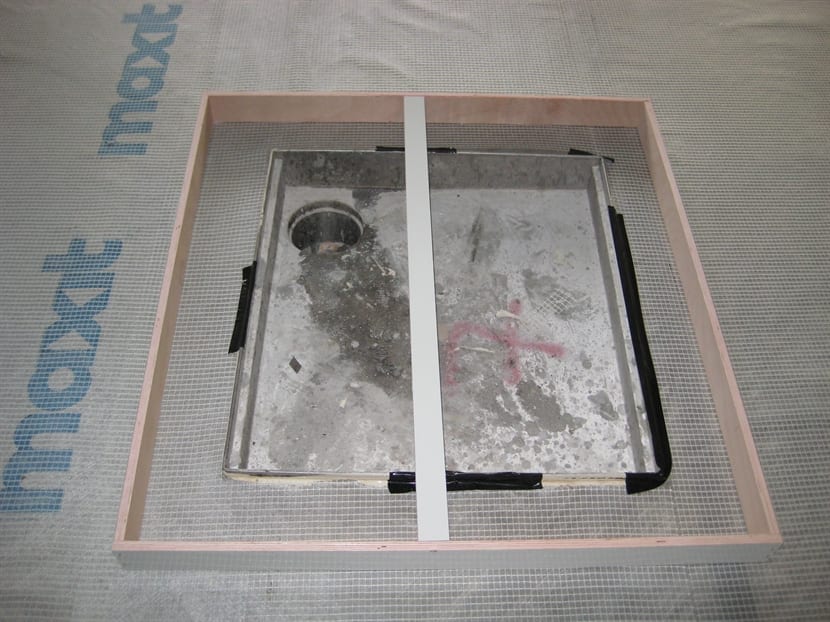
Before casting, the dedicated primer is applied in two layers. After the substrate has absorbed it, the screed is cast. Coloured grout can be applied, with fast- or slow-drying grout, and with grout having a compressive strength that varies according to future needs and uses. The grout can be painted (in a selection of shades) after it dries, or coated with a transparent sealer.
Finish:
After the grout has dried, the coating process can begin. First, several layers of transparent epoxy are applied, which do not change the colour of the casting but give it a lively, slightly wet appearance. Then a layer of polyurethane material with a matte finish is applied. The last layer uses wax, which restores some of the floor’s shine and protects it from scratches and other damage. The wax also contributes to the floor’s maintenance, so any cleaning product containing wax will add a renewed layer of shine.